
Your first request
Reqjet keeps requests in .http files in folders on disk. There’s no account and no cloud: a request is a few lines
of text you can commit, review and diff like code.
Send a request
Section titled “Send a request”-
Open a folder. Choose Add folder on the toolbar (Ctrl+O) and pick a folder, such as your project’s repository or a new empty folder. It appears in the tree on the left.
-
Create a request file. Right-click the folder and choose New file, or use New file on the toolbar. Give it a name such as
users.http. Reqjet creates it with a sample request and opens it:### New requestGET https://httpbin.org/getAccept: application/json -
Send it. Press Ctrl+Enter or the Send button. The response appears below the request.
-
Save. Ctrl+S saves the file (Ctrl+Shift+S saves every open file). On macOS, use ⌘ instead of Ctrl.
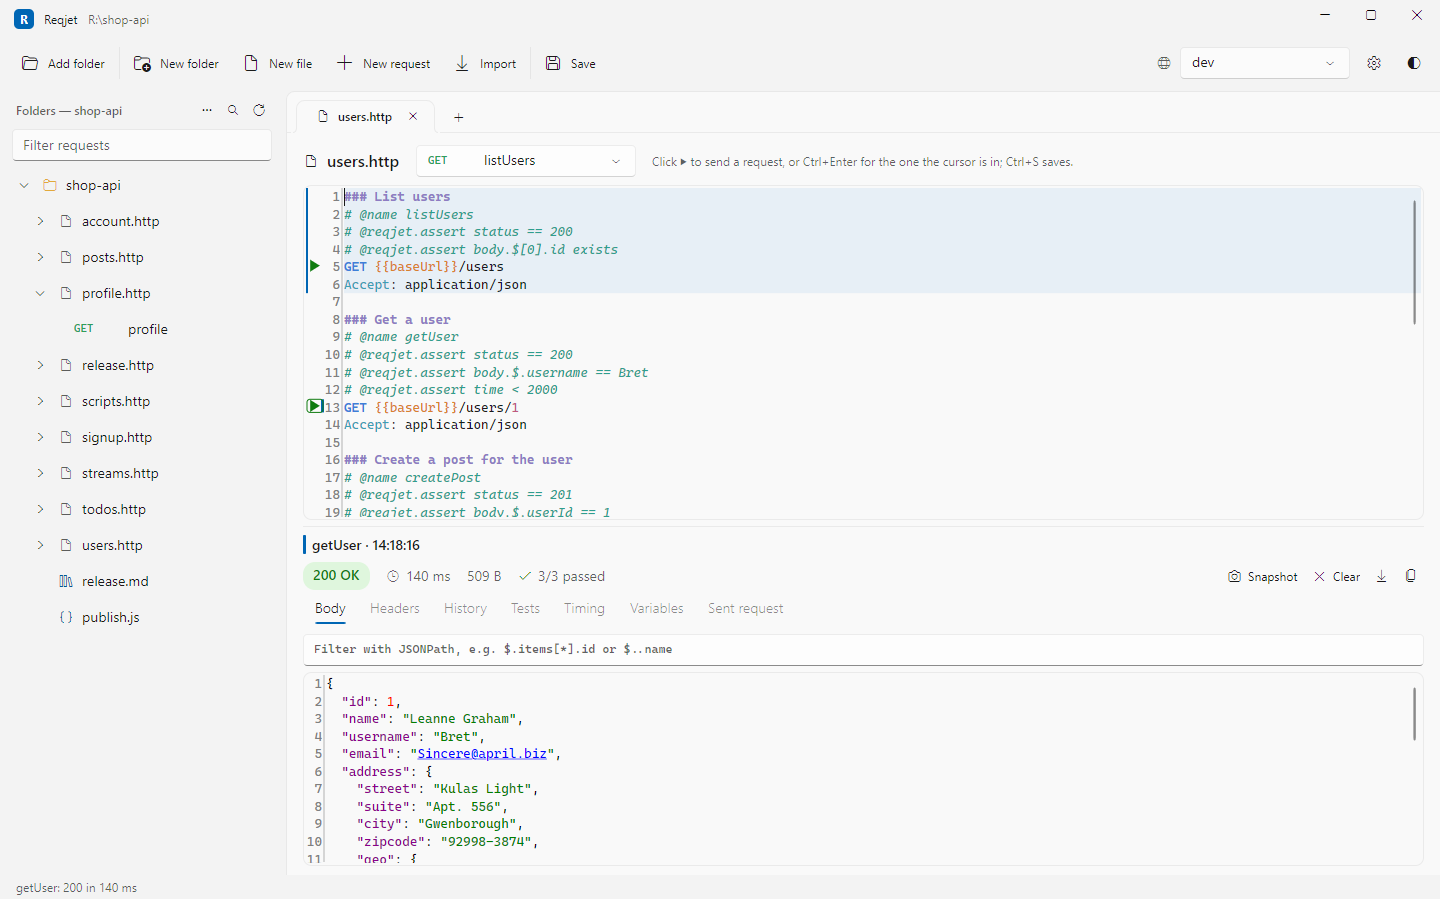
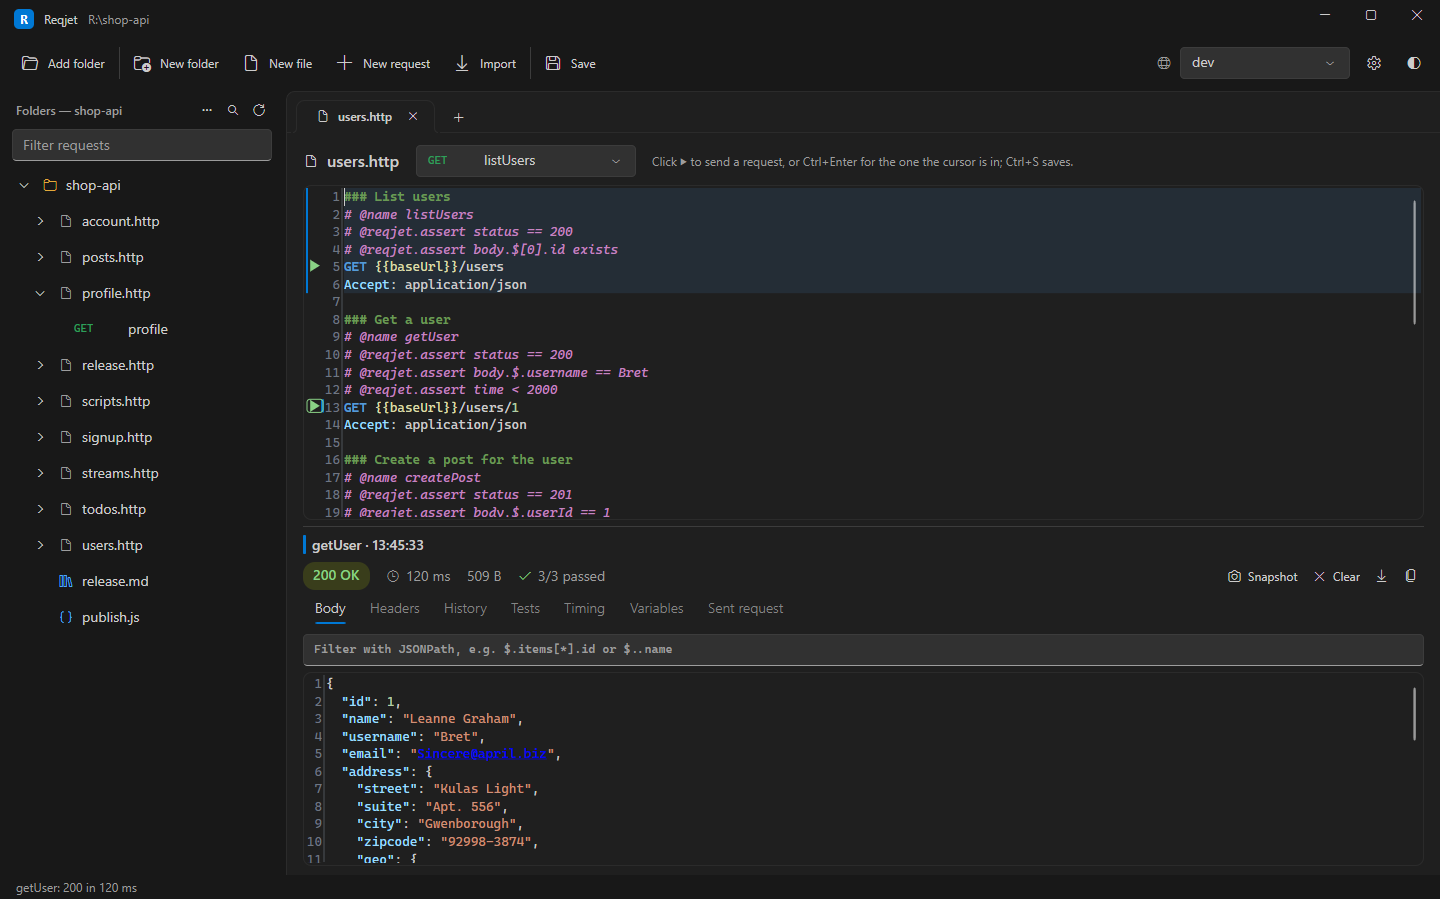
Form or text: the same request
Section titled “Form or text: the same request”A request opens in its own tab, where you can edit it two ways:
- Form has boxes for the method, URL, query parameters, headers, body, sign-in and scripts.
- .http shows the request as text, exactly as it’s saved.
They’re two views of the same file. Editing a header in the form changes just that line in the file, and editing the text updates the form. Your comments, spacing and line endings are kept.
A file can hold many requests
Section titled “A file can hold many requests”A .http file usually holds a group of related requests, each starting with a ### line whose text is its title:
@baseUrl = https://httpbin.org
### List usersGET {{baseUrl}}/get?page=1
### Create a userPOST {{baseUrl}}/postContent-Type: application/json
{ "name": "Ada" }
@baseUrl = …at the top is a file variable, used as{{baseUrl}}in any request in the file.- Each request appears under its file in the tree. Click one to open it in its own tab.
- Click the file itself to open the whole file as text: each request gets a ▶ in the margin to send it, and Ctrl+Enter sends the one the cursor is in. Ctrl+Shift+O jumps to a request in the file.
- New request (Ctrl+T) adds a request to the file you’re in.
See .http syntax for everything a file can contain.
Reading the response
Section titled “Reading the response”The bar above a response shows the status, how long it took and its size. If the request has tests, it also shows how many passed. Below it are tabs:
| Tab | Shows |
|---|---|
| Body | The response body, formatted. A JSON body has a filter box: $.items[*].id or $..name shows just what matches. Images are shown as pictures. |
| Headers | The response headers. |
| Cookies | Cookies the response set, and whether each was stored or rejected (and why), plus the cookies the request sent. |
| History | Earlier responses to this request, to compare with this one. |
| Tests | Each test and whether it passed, when the request has any. |
| Timing | Where the time went (DNS, connecting, TLS, waiting, downloading), plus the HTTP and TLS versions and the server’s certificate. |
| Token | Any JWT the request sent or the response returned, decoded. |
| Variables | The {{variables}} that went into the request, and where each value came from. |
| Sent request | What was actually sent, with variables filled in, including any redirects followed. |
| Console | Output from the request’s scripts (client.log), and where a saved response went. |
Some tabs appear only when they apply. The copy button copies whatever tab is showing. Values that look like
secrets, such as tokens, passwords and API keys, show as ••• until you press the eye button beside them.
- Folders and workspaces: how the tree is organised, and switching between apps.
- Environments and variables: send the same requests to dev, staging and production.